This is the third of four "interactive" caches in Kei Ling Ha Lo Wai, Sai Kung.
All four caches are on-site puzzle caches with a twist! The cache is at the posted coordinates, but you will not be able to retrieve it without performing some tasks first.
Combining the best of geocaching with the traditional treasure hunt using a map, these caches should provide a challenge for all types of cachers!
The 3rd cache is located at the most unlikely structure you might find in the Northern Territories!
Here stands a replica of The Great Gaocheng Astronomical Observatory built in 1276.
The original tower stands till today in Denfeng County, China and is now a World Heritage Site. It was once used to create the Chinese calendar, calculate time and even the circumference of the Earth!
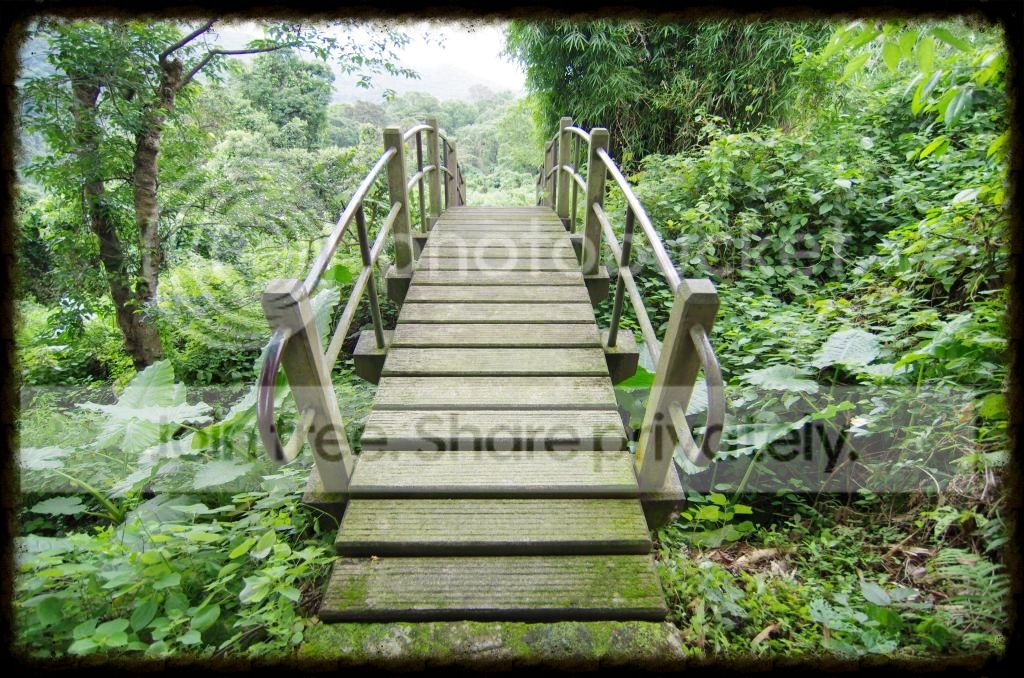
The Tower is located at the start of one of Hong Kong's oldest walks: The Kei Ling Ha Tree Walk. A short hike will be required to retrieve some "key elements" to unlock the secrets of The Tower!

~~~~~~~~~~~~~~~~~~~~~~~~~~~~~~~~~~~~~
Here is your mission:
1. Locate the cache at the posted coordinates.
You will however not be able to retrieve it yet!
2. Locate the Map.
70 metres North of the cache coordinates (at the entrance to the Tree walk) is an information board with a map of the tree walk.
Underneath this board is a special map. Grab it!
3. Find the two keys.
You need to find two keys to unlock the cache. Both keys are located along the Tree Walk and indicated on your map.
The first key is located here:
The second key is here:

4. Use the two keys to unlock and retrieve the cache.
5. Close the cache and carefully lower it back into position (Please dont let it drop).
6. Lock the other lock into place.
7. Replace the two keys and the map.
Congratulations, you unlocked the third puzzle!!!
~~~~~~~~~~~~~~~~~~~~~~~~~~~~~~~~~~~~~
NOTE: This cache will be in full view of muggles, especially on weekends. However, even if they see you retrieve it, after you replace the cache, they should not be able to get at it.
Some strength might be required to grab the cache and there is a slight risk due to a steep drop - it is strongly advised that children be supervised!