Looking up from within Cogmanskloof the cliffs looks almost impossible to scale without climbing gear. However there is an "easier" route from the other side. No climbing gear is needed there, but you will still need good climbing appendages. Once on top you'll traverse along the narrow, rocky ridge towards Bobbejaanskop before finally descending via the town name back to the start.
This is definitely not a walk in the park. It's a difficult and dangerous traverse over steep, craggy terrain and through dense, thorny bush. It took me 9 hours to do the 8km so do not underestimate it! Of course, with great effort comes great reward!
Below is a short description for each of the caches along the way. The final cache in the series is this cache itself and can only be found after finding all the other caches. In each of them there is a word that you need to make note of. You'll need these words to solve the final coordinates which is at
S 33° 48.(Ax2)(B) E 020° 07.(C)(D)

The Route
 The whole journey begins and ends at the trailhead of the Aasvoëlkrans Hiking Trail. There are a few options to go from there, but ultimately you need to make your way towards the large, curved overhang in order to reach the first cache in the series. Do not try to go up via the cliffs near the Aasvoëlkrans Beacon. It may be doable, but rather take the safer option by going up via the overhang. Pass along underneath the overhang towards the bushy area between the two buttresses and from there head up to the summit of Cogman's Buttress.
 Cogman's Buttress (GC64NEG)
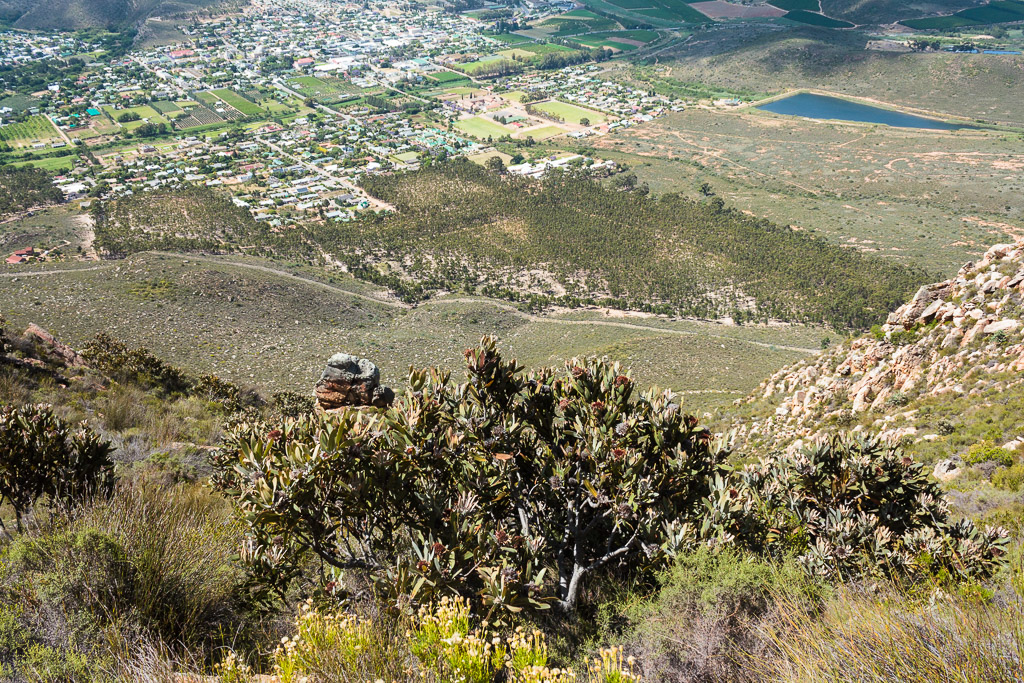
Cogman's Buttress is the lowest, but most striking cliff of Aasvoëlkrans. It has three "peaks", the highest one being in the middle at 610m. The cache is located at the far end of the cliff overlooking the trig beacon. One interesting feature of this cliff is that, when viewed from within Cogmanskloof, it resembles the head of a woman gazing up towards the sky.
 Eagle's Folly Buttress (GC64NEZ)
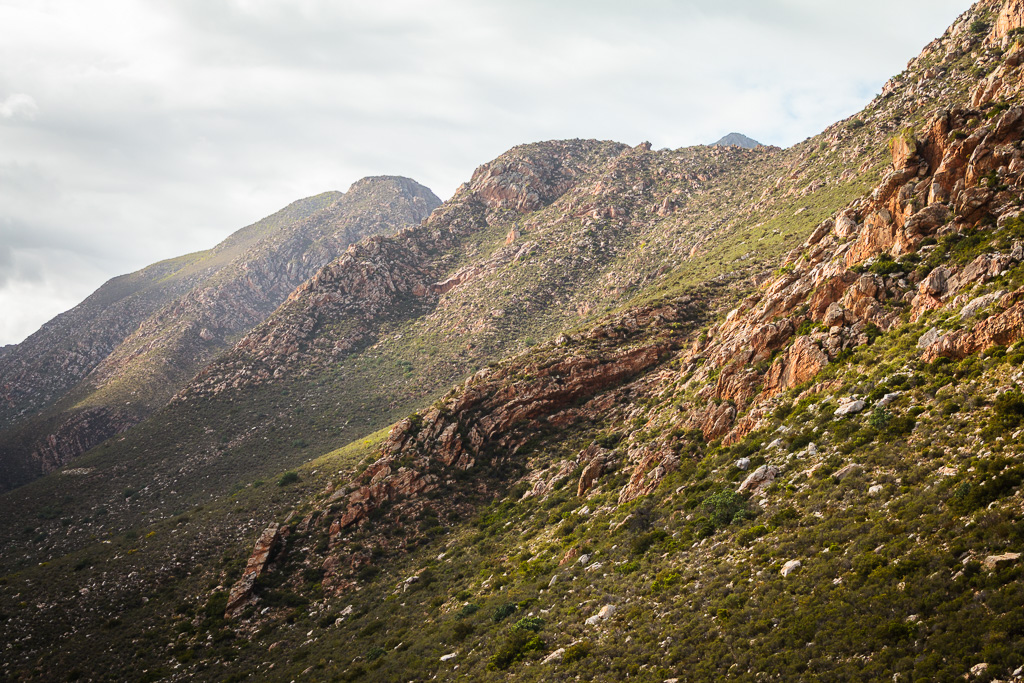
Eagle's Folly Buttress is the highest cliff of Aasvoëlkrans and has two peaks, the highest one being at 700m. The cache is located on the lower peak overlooking Cogmanskloof. If you're lucky, you might even see or hear some of the local Fish Eagles.
 Keurkloof View (GC64NFJ)
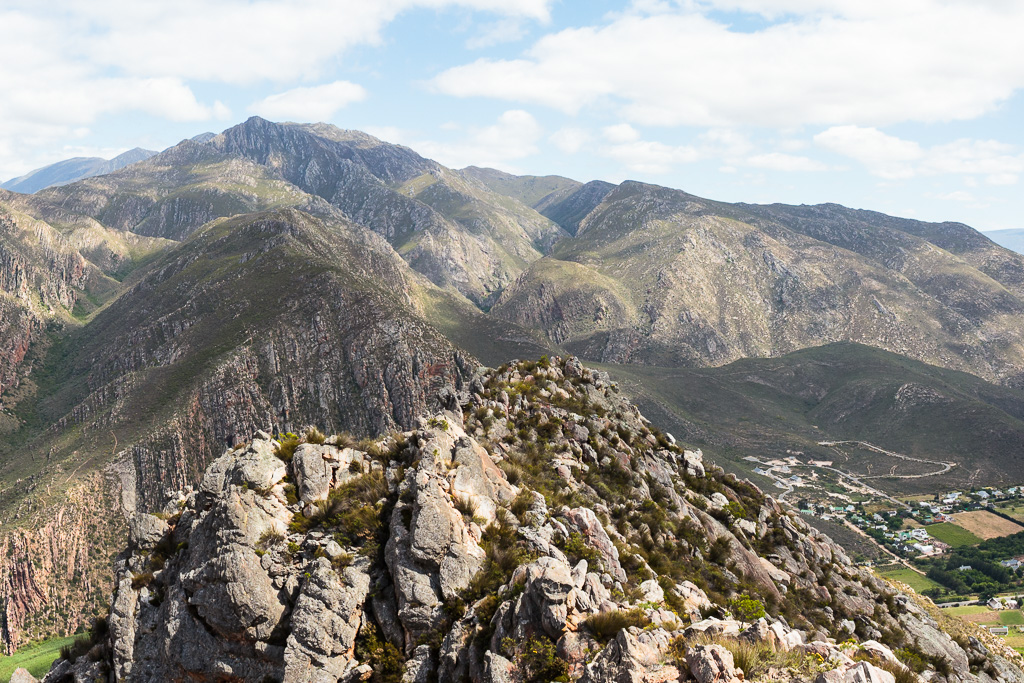
From this little peak you have a nice view down Keurkloof. Getting to the top of it though is not as easy as it looks. Stay away from the cliffs on the right. Rather go around to the left and approach from the other side.
 Bobbejaanskop (GC64NF3)
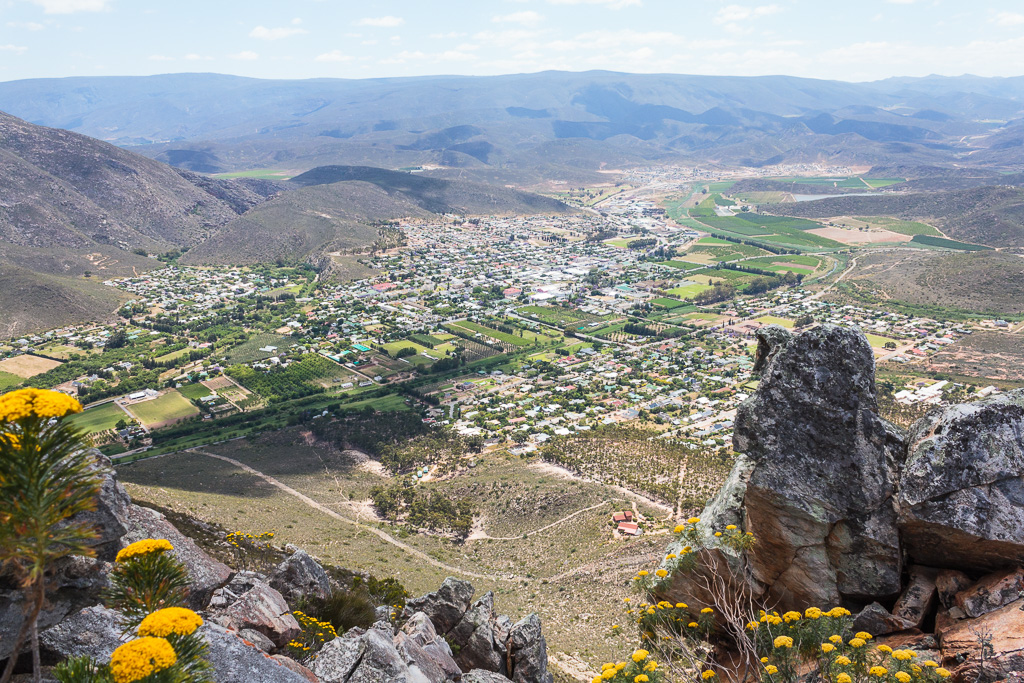
This part of the mountain looks very much like the face of a baboon, hence the name Bobbejaanskop. This will be the highest point of the traverse with the peak at 710m. You'll descend down the side of the "face" past the baboon's left eye and nose. Watch out for the dangerous ledge about half-way down! Keep to the far right and go down via the narrow gully next to the nose. Once you're near the white rocks spelling out the town name, you can visit the nearby MONTAGU (GC5TN2H) cache if you haven't found it yet.
The last leg of the traverse consists of getting down onto the firebreak, following it over the hill towards the hiking trail and from there heading back to the start. This cache is hidden somewhere along this section, so don't forget to solve the puzzle before then.