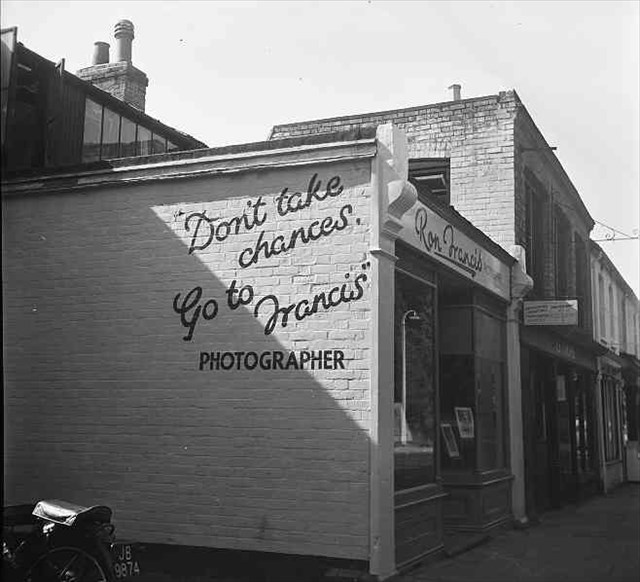
Ron Francis shop and slogan, 1951
This cache is a form of field puzzle, and although you should follow a set route (described below) you may need to undertake some internet research before you start the walk.
This puzzle takes you on a nostalgic walk around Camberley Town Centre, and requires you to find the locations at which photographs were taken many years ago. You will see how the area has changed, although hopefully not by so much that you will be unable to identify the locations from those elements within the pictures that remain very much as they were. The walk will take you through the Shopping Mall, which is only open from 8.00am to 8.00pm Monday to Saturday, and 10.00 am to 4.30 pm on Sunday; do not attempt this cache outside those hours.
All the historic photographs were taken by legendary Camberley photographer Ron Francis (1922-2010), who ran a photographic business in the town for over 50 years. His slogan "Don't take chances, go to Francis" was written on the wall by the side of his shop. Francis left a legacy of over 20,000 negatives, which now form part of Surrey Heath Museum's collection. It includes images of local events, family occasions, individuals, industry, and buildings, and it is some of this last category that form the basis of this puzzle.
Our grateful thanks to Surrey Heath Museum for giving us permission to use the photographs by Ron Francis. The Museum is open Tuesday - Saturday, 11 am - 4.30 pm, and admission is free. There is car parking near to the suggested start point, at the parking waypoint, although there are also other multi storey car parks in the town, as well as limited street parking.
The published co-ordinates are the former location of the Surrey Heath Museum, although this has now been relocated to 33 The Square, Obelisk Way. However those co-ordinates remain a suitable point to start your walk. If you do start there, you will have to go .0UV minutes north and .UU(Z-W) minutes west of those co-ordinates in order to find the first building pictured (not necessarily photo 1), if:-
Ron Francis was UV years old when he moved to London to work for commercial photographers.
Ron Francis took over Hills and Saunders in the year WXYZ.
Having answered the question relating to this location, you should now proceed along the following route in order to pass all the other locations:-
Head north up High Street and do not go further than the sharp left bend, before retracing your steps to the first building pictured (the adjusted co-ordinates). There is naturally a reason why you need to take this detour!
Now turn right down Obelisk Way, and carry straight on through the doors and into the shopping area, before emerging after another set of doors back onto Obelisk Way. Before you reach the first set of doors you will have passed the first three locations, and before the second set of doors is the current location of Surrey Heath Museum.
Turn left down Park Street with the Atrium in front of you (no road sign).
Turn left onto Princess Way, passing through a set of doors and briefly re-entering the covered shopping area, before exiting through some more doors, once more onto Princess Way. At this point you will have passed a further three locations.
Turn left onto High Street (no road sign) where Knoll Walk goes straight on. On the High Street you will find the final two locations, they are very close together, but the photographs were taken from opposite sides of the road.
Almost opposite the entrance to the Shopping Mall on your left, turn right down an alleyway/narrow road, Bissingen Way (no sign). At the end you will see the suggested start point for the walk.
Note - the photographs are not in order as you walk along the route described above. They can also feature buildings on either side of the road, and the instructions do not specify which side of the road on which it is best to walk.
Hint - two of the buildings (photos 2 and 3) are considered to be particularly difficult to identify, although in each case the windows above the shop fronts should help, although with photo 2 the window above the building to the right is now a bay window.
By identifying the location of all the photographs, you should be able to determine values for letters A to G, as follows:-
Photo 1 - behind where the photograph was taken from, you will now see 5 white numbers on a black background, 140A6
Photo 2 - what used to be The Crockery has now been repainted. If the door and side pillars are now white then B=0, if they are now brown then B=1, and if they are now black then B=2
Photo 3 - where Pink's used to be written, there is now an image. If it is a penguin then C=3, if a clown then C=5, and if an elephant then C=7
Photo 4 - from where the photograph was taken there is a now a road sign; on the pole there are two black numbers on a white background, written one above the other. Add the two individual numbers together, multiply by 3, and that will give you D.
Photo 5 - in front of the building pictured there are now E bike stands
Photo 6 - behind where the photographer was standing you will see a number, which is 4Fa
Photo 7 - the building to the right of the pictured store (Timothy Whites) is a Club, which was established in 19G8. (This information no longer appears, G is 0)
Photo 8 - on the ground near where the photographer was standing there are now H brass letters on a black background. These letters appear twice in a similar area, do not double your count as a result.
The cache can be found at N51 20.(A+B)(B+H)(A+E) W000 44.(F-H)(C-B)(D+G-C)
The checksum for all digits of the co-ordinates is 41
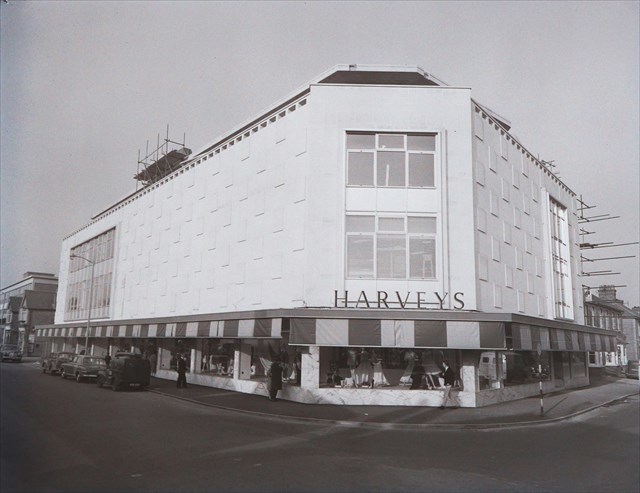
Photo 1
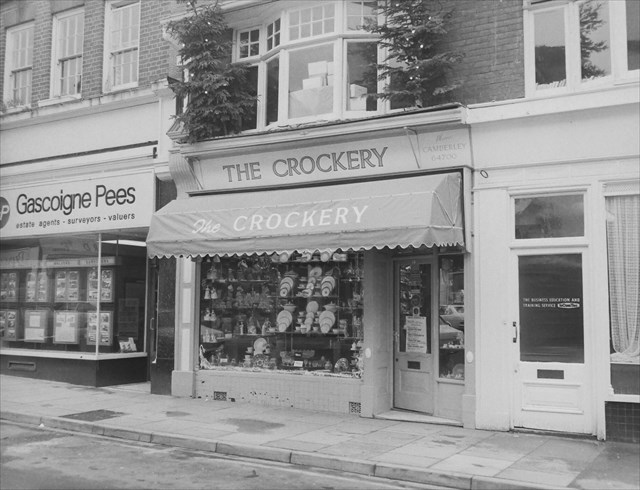
Photo 2
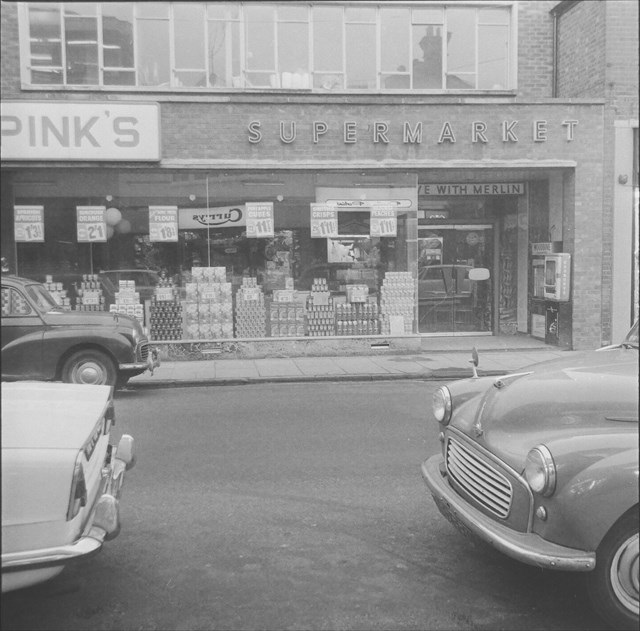
Photo 3
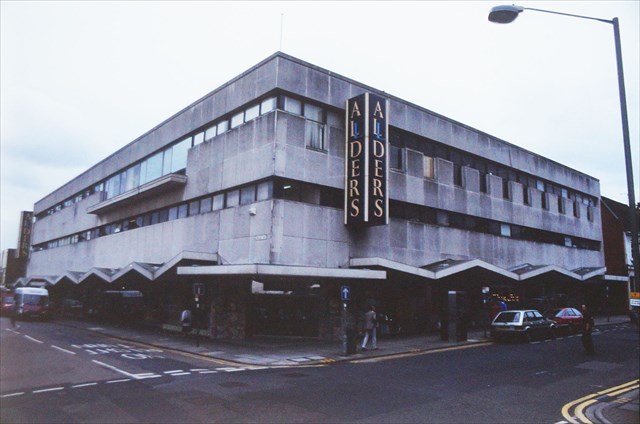
Photo 4
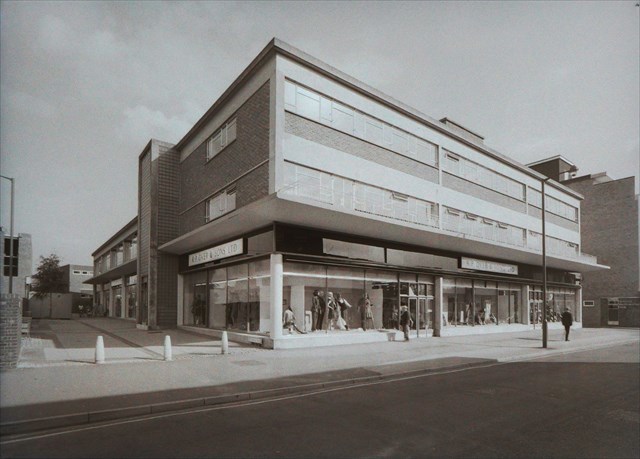
Photo 5
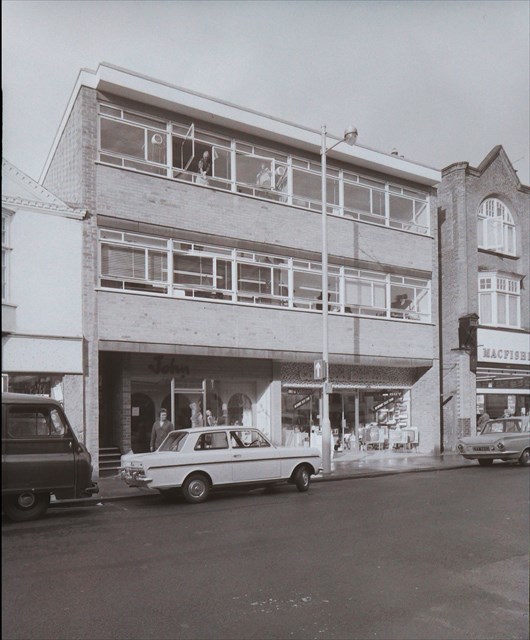
Photo 6
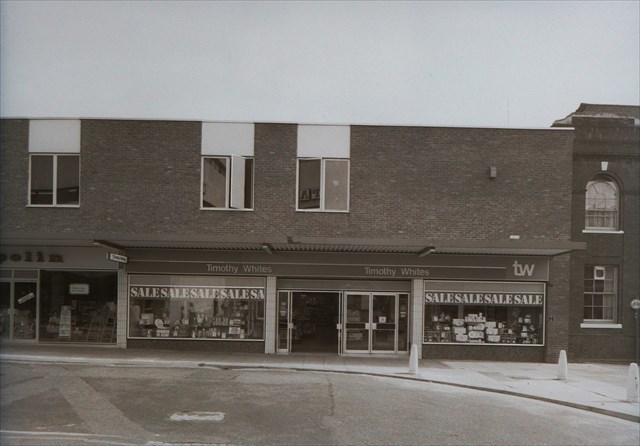
Photo 7
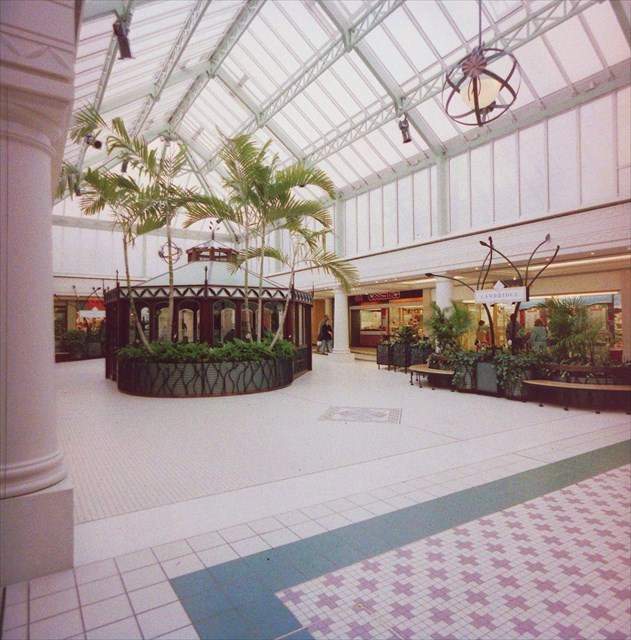
Photo 8